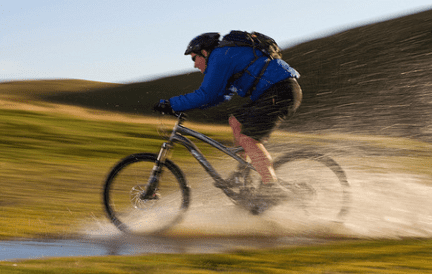
The eBike suspension is the system that suspends the rider and electric mountain bike in order to insulate them from the terrain roughness. Therefore, it is the first thing to be decided when purchasing an electric mountain bike.
- Part 1: Get to Know eBike Suspension
- Part 2: The eBike Suspension System
- Part 3: The Electric MTB Full Suspension
- Part 4: The Electric MTB Front Suspension
- Part 5: The Electric MTB with No Suspension
- Part 6: The Electronic MTB Suspension Terms
- Part 7: How to Set Sag on an e-Mountain Bike – Tools
- Part 8: How to Set Sag on an e-Mountain Bike – Step by Step Instructions
- Part 9: How to Adjust the Rebound Damping
- Part 10: How to Choose the Compression Damping
Part 1: Get to Know eBike Suspension
The eBike suspension is also known as a shock absorber. Referring to its alias, a suspension does absorb the shock by pressing the tire into the ground when navigating uneven terrain.
To get a stable and comfortable riding experience, eBike suspension systems are widely used on various bikes, especially the fat tire electric mountain bikes (e-MTB).
Not only greatly enhance the riding experience, but the suspension eBike system also plays a buffering role. When you ride an electric mountain bike on rugged uphill and mountain roads, the suspension electric bike can help reduce the impact damage to both the bike frame and yourself.
There are currently 3 types of electronic MTB suspension: full suspension, front suspension, and no suspension ones. Worry not, as you will get a piece of knowledge and a clear understanding about each of them after this.

Part 2: The eBike Suspension System
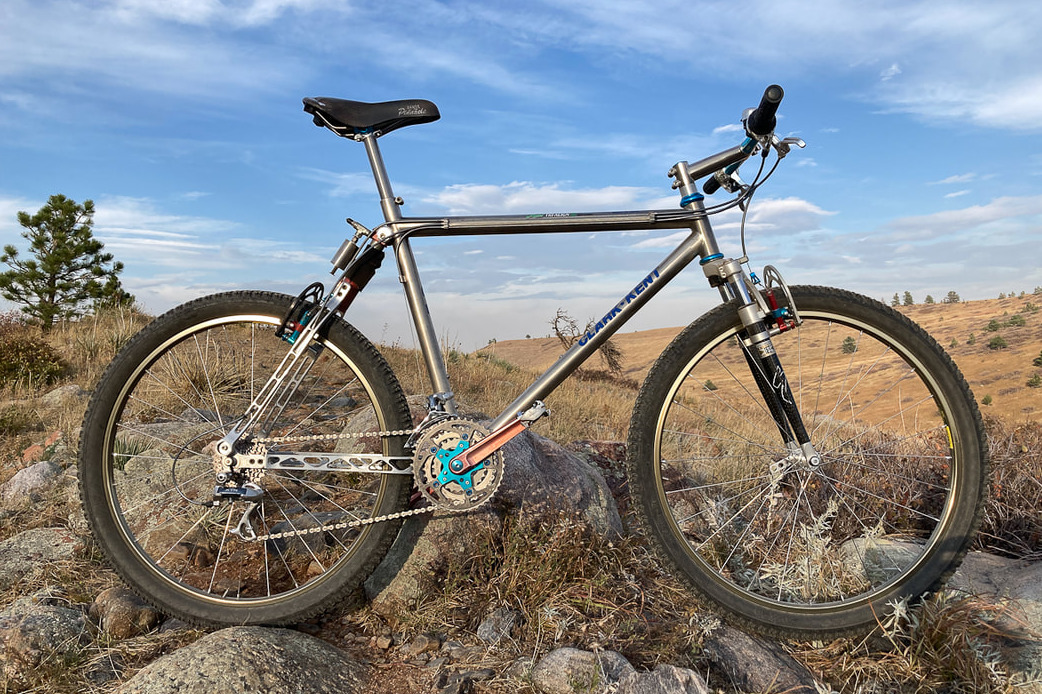
Before diving into suspension electric eBike, you need to understand the bike suspension system. The suspension systems are divided into 4 types, which are: spring, resistance rubber, pneumatic, and hydraulic.
The spring one is the most common eBike suspension system on the market, followed by the hydraulic one. However, each of them has its advantages and disadvantages.
The spring damping can usually provide a shock absorption effect at a lower cost. Therefore it becomes the first choice of most mid-range eBike manufacturers. The only disadvantage is it is not as light as the other suspensions.
Then, resistance rubber is lighter than the spring damping, so that it is easier to be adjusted and requires less maintenance. But after a long period, it will get solid and deteriorate, thus reducing the shock absorption effect. When it happens, you will have to replace it with a new one.
Next, is the pneumatic suspension system. Using the pressure generated by compressing the sealing gas, this system manages to achieve the shock absorption effect. The super lightweight becomes its biggest advantage as it lightens up the air.
The air damping will not age, which makes it better than the resistance rubber. However, nothing is perfect, so the pneumatic suspension system is. The gas is easy to leak, so the air pressure needs to be checked and calibrated frequently. Otherwise, the air pressure will be unbalanced due to the air leak, then it may break the fork.
The last one is the hydraulic suspension system, which is nearly a perfect one. Besides its super lightweight, this suspension does not require frequent maintenance, has a low failure rate, and has an excellent absorption effect. However, once it is damaged, the repairs and replacements process will cost a lot and take a lot of time.
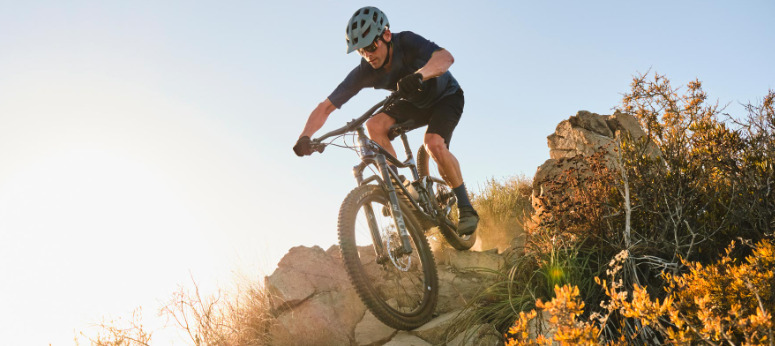
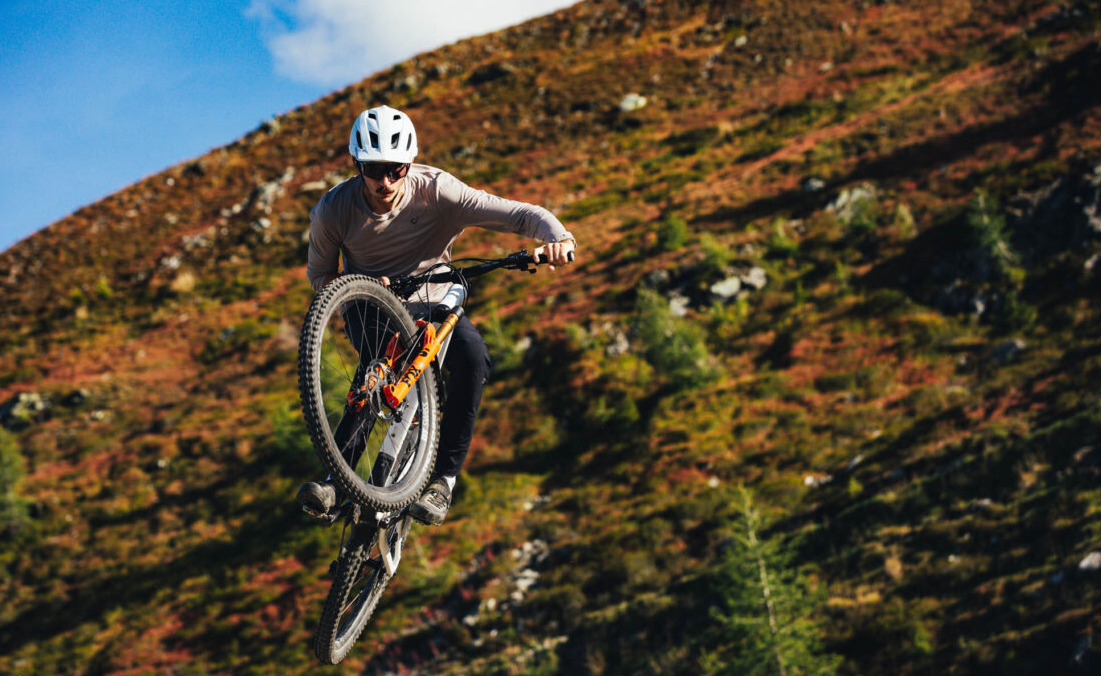
Part 3: The Electric MTB Full Suspension
Let us dive into the full-suspension type. A full-suspension bike normally has 2 different suspension types of front and rear suspension systems. An electric MTB with a rear suspension usually has a front one as we have not seen any bikes with just a rear suspension.
This electronic suspension MTB is the key for the ones who love jumping in the air. Yes, it looks and feels amazing, but not everyone has enough nerve to do so. You can actually jump with a fat bike with no suspension, but you will tend to bounce when landing and have no control at all.
Although it may be fun, we highly recommend you to at least have a front suspension fork as it absorbs most of the landing force and keeps your bike under control.
But it will feel much better if you use the full suspension one. There are limited options on the market, such as Marin Alpine Trail E1, Trek Powerfly FS4, Cannondale Moterra Neo 5, Giant Stance E+1, and YT Decoy Base 29.
Part 4: The Electric MTB Front Suspension
Next, there is the front suspension ebike. Most mid-range electric mountain bikes are equipped with a front suspension only as it is enough to satisfy many people’s riding needs.
This front suspension electric bike is a big deal as it bears most of the weight from the rider and protects the safety of the bike fork as well.
When you ride on complex terrain, its front damper can effectively absorb the external impact and prevent the front fork from bending, thus extending your bike life span.
The front suspensions mostly use the spring or hydraulic suspension system. It makes sense because both of them meet most people’s requirements.
As proof, both the Step-Thru and Himiway Cruiser bikes are equipped with front suspension spring shock absorbers, which can effectively cope with the rugged mountain roads.
Part 5: The Electric MTB with No Suspension
So is no suspension electric mountain bike useless? Not at all! If you are sure that your riding speed will not exceed 20 mph, then a rigid bike will be a good choice.
Moreover, if you rarely ride on mountain roads, you may want a bike for both regular and mountain biking. If that is the case, then you may go for the no suspension mountain bike.
By the regular, we mean the bustling city road, beach, or snowfield. The soft sand or snow ground can effectively replace the damper as a buffer, so you do not need any suspensions.
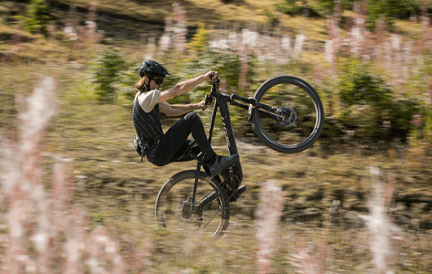
Part 6: The Electronic MTB Suspension Terms
After considering which electronic MTB suspension to be used, you need to know how to set up the suspension as not all bike stores provide this kind of service.
To avoid confusion, let us begin with some suspension terminologies:
1. Travel: your suspension’s movement amount or your suspension stroke length. E.g.: the Dirt-E+ has 120mm of front-wheel travel and the Full-E+ has 140mm of rear-wheel travel.
2. Fork: the front suspension mechanism on your electric mountain bike.
3. Shock: the rear suspension mechanism on your electric mountain bike.
4. Sag: the fork and/or shock compression that is caused by the rider’s static weight. It is recommended to perform a sag test before setting the air pressure in your fork and/or shock, but you can ideally set your sag at 25-35% of the total travel.
5. O-ring: a rubber ring around the shock or fork stanchion that is used to measure the sag.
6. Stanchion: the shock and fork’s tube(s) that goes into the body of the shock and lowers on the fork.
7. Spring rate: the force amount that is required to compress the spring, can be the air pressure in the shock or the coil’s spring rate.
8. Rebound damping: the rebound adjustment that helps the suspension return to the proper position, after a bump. The more rebound damping you use, the slower the suspension will return to its proper position.
9. Compression damping: the compressor that helps the suspension to absorb bumps or road irregularity as the wheel moves upward. The more compression damping you use, the firmer the suspension will feel.
Part 7: How to Set Sag on an e-Mountain Bike – Tools
To set your electronic MTB suspension precisely, you need some tools below:
● A friend: no offense, but you do need at least a friend to help you set the sag.
● Shock Pump: to pump air into your fork and shock. As the high pressure goes into the fork or shock, it will not let the regular bike tire pump work.
● Ruler: to measure both the neutral and suspended length.
● Notebook (on phone or paper): to write down the initial settings of the fork and shock, so you will always be able to go back to the settings you came from.
Part 8: How to Set Sag on an e-Mountain Bike – Step by Step Instructions
After preparing those tools, now get ready to set your e-mountain bike sag based on the instructions below:
1. Inflate your tires correctly and wear all your riding gear.
2. Sit down on your electric mountain bike and ask your friend to stabilize your bike’s front with your front wheel between the legs and the hands-on handlebar.
3. Make sure the compression damping knob is in the 100% open position, if your fork and shock have compression damping knobs.
4. Stand up on the pedals and bounce a few times to get the oil moving through your suspension, thus balancing the air pressure in your shock. When bouncing, give a little pressure on the bike’s front as if you are riding it.
5. Stand on the bike in your neutral position and let your friend reset the rubber O-ring on the fork and shock stanchions.
6. Sit gently on the saddle and dismount your bike.
7. Look at your stanchions. Use the ruler to measure the O-ring position on the stanchion. It should take around 25% of the stanchion’s total length. If the O-ring is less than 25% of the way down, it means you have too much air in the fork or shock, so use the shock pump to remove the air. If the O-ring is more than 25% of the way down, it means you have too little air in the fork or shock, so use the shock pump to add the air.
Part 9: How to Adjust the Rebound Damping
Although your electronic suspension MTB feels right with your weight under compression, but need to pay attention to whether it is rebounding at the correct speed.
Normally a faster rebound damping feels better for smaller bumps, while a slower rebound feels better on big bumps. Just make sure the rebound feels right for your specific terrain and riding style.
Therefore, you need to test your electric mountain bike frequently to find out the best setup that suits you. Check the rebound by compressing and releasing the shock (by pressing down on the saddle) and the fork as well (by pressing down on the handlebar).
To get an accurate feel, do not hold onto the handlebars or saddle, instead press with open hands. Your suspension will quickly return to its neutral position, but not so quickly that it bounces your tire off the ground.
To adjust the rebound damping on the suspension eBike properly, follow these instructions:
1. Find out how many clicks of rebound you have to work with by:
● Turn the rebound knob to the left using forks and shocks to minimize any damping forces.
● Count the clicks as you turn the knob to the right.
2. Compress the shock by pushing down on the saddle forcefully with full body weight.
3. Feel how the shock rebounds from compression (the shock will rebound bit-by-bit).
4. Turn the rebound damping knob left until it stops and compresses the shock under full body weight. The shock will rebound in flash to its neutral position.
5. Turn the damping knob a few full turns counterclockwise.
6. Repeat the compression testing until the shock rebounds more slowly than without damping.
Part 10: How to Choose the Compression Damping
The compression damping allows you to control the compression speed. More compression damping will get your suspension firmer, so you will not blast through the travel with small impacts. However, be careful as too much damping will prevent the suspension to absorb large impacts, which can result in a harsh feeling.
There are plenty of different variations of compression damping on both forks and shocks. You may find a high-speed, low-speed, lockout compression damping option or any combination of them.
The high-speed compression is ideally more adequate for fast and rough hits, while the low-speed compression damping is better for the smooth hits.
The right compression damping depends on the terrain and personal preference. Some riders would prefer a plush supple bike, while the others who ride rugged trails with big hits would prefer a firmer bike.
Take your time to consider which eBike suspension you need and like. Then set it up carefully as it plays an important role in your riding safety. Ride on and stay safe!