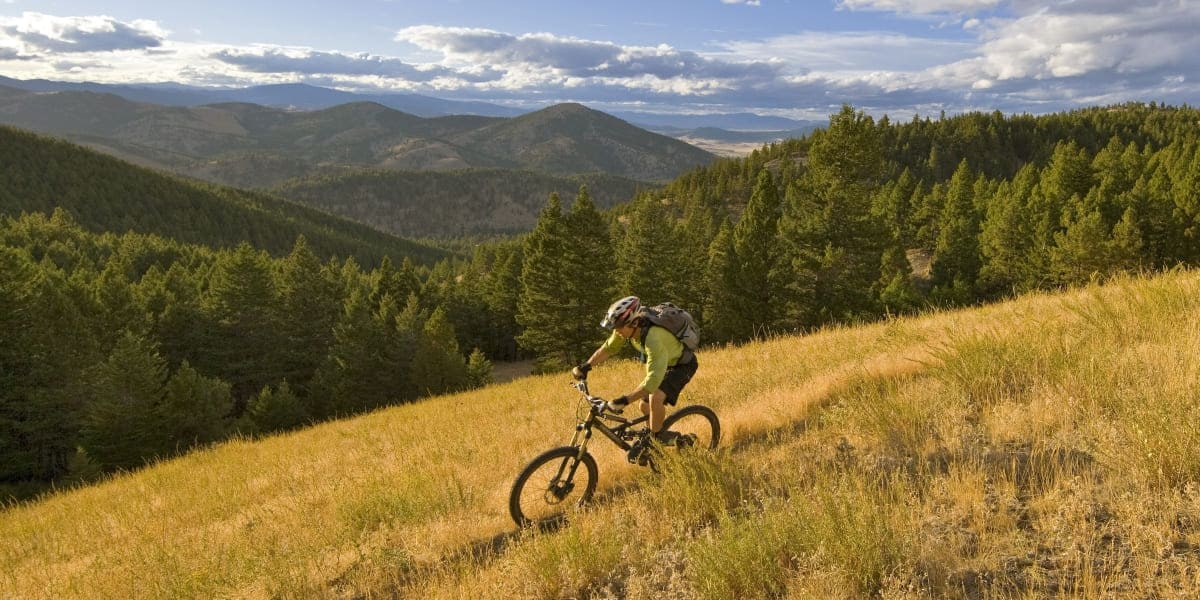
If you have any inclination to try things a little risky like biking down a mountain near dusk, even at night, DO IT. But use a mountain bike headlight. When you put your safety first, you can maximize adrenaline, and dominate trails any time after dusk.
- Part 1: What Trail Difficulty Rating Requires an Mtb Headlight
- Part 2: Do I Need to Choose the Brightest Mtb Headlight to Start
- Part 3: What Should I Expect When Unboxing a Mountain Bike Headlight
- Part 4: Where’s the Best Place to Mount an Mtb Headlight
- Part 5: How Much Mtb Headlight Battery Do I Need per Trip
- Part 6: What Lighting Mode Should I Choose While Riding
- Part 7: What Lighting Do I Use While Mountain Biking with Friends
- Part 8: Conclusion
Part 1: What Trail Difficulty Rating Requires an Mtb Headlight
If you’re just getting started, you’ve probably learned about some amazing trails in your area. Maybe you’ve been adventuring through the uncharted, risky territory of trails graded higher than you’re used to. Considering what kind of trail you could ride when you have a mountain bike headlight is an important first step to prepare (*for your own safety).
First things first, you should always put safety… first! Extreme sports like mountain biking have an almost universal grading system when it comes to judging your skill level compared to trail difficulty. There are different rating systems, but according to the IMBA rating system, there are five levels of difficulty.
From easiest to hardest IMBA’s rating system is as follows:
- Easiest (white circle with green line)
- Beginner (green circle with white line)
- Intermediate (blue square)
- Advanced (black diamond)
- Expert (double-black diamond)
When you feel like you’ve built up enough courage to start riding at dusk, knowing what difficulty to choose is an important first step before turning on your mtb headlight. Generally, if you’re a beginner you should start with what you’re already comfortable riding during daylight. In fact, we’d go so far as to recommend if anyone is starting to ride at night then you should start with what you’re comfortable with on a trail you already know.
Night riding is a whole new experience. Understanding where to start when first using an mt bike headlight is one of the most important steps. Whether you’re used to black diamond trails or are a beginner comfortable on the ones labeled with green circles you’ll have the opportunity to learn as you go without frantically searching for a path to follow in the dark when you prepare with the right mountain bike lights.
Part 2: Do I Need to Choose the Brightest Mtb Headlight to Start
A mountain bike headlight needs to be bright enough to flood the entire area in front of your bike as you move down the path. Depending on the trail width, you’ll want to see as much as possible. Branches, flowing water(or mud), bridges, and rocks are obstacles you need to be aware of. If you’re in the beginner type range, you don’t have to worry too much about random trail features like those above, but they’re still important.
So do you actually need the brightest mtb headlight you can find?
Obviously, if you’re mountain biking during daytime hours you’ll need less light. Trails will be well lit in most cases. Occasionally, there are other moments where you may need a different kind of lighting. Instead of a headlight, you’ll need red front and rear blinky lights. (20-200 lumens)
Then there will be other times where you might be moving across a plateau, through rural farmlands, or in the suburbs on your way back from a nearby mountain, even on the mountain. The sun can down very quickly, in this case, you’ll want to be visible to any other riders, and vehicles when moving from one place to another. In this situation, a mountain bike headlight is necessary. (200 – 800 lumens)
On a downhill mountain trail, you’ll need an mtb headlight and reliable helmet light for mountain biking during dusk, and after the sun has gone completely down. In the pitch dark, the only light you’ll have to navigate will be your set of mountain bike lights. There needs to be at least a combined 800+ lumens for the trail at any grade, or difficulty level.
Any mtb headlight you choose should flood the entire area in front of your bicycle.
Part 3: What Should I Expect When Unboxing a Mountain Bike Headlight
You should expect a quality mtb headlight package to include an all-in-one casing with an LED headlight and lithium-ion battery. It may also include a USB charging cable you can adapt with many other devices, and charge anywhere. A mount (whether it is a rubber strap, velcro, or twist-and-snap style) should also be included. Instructions will help you understand how to mount your light and where.
When you open the box make sure to check the instructions first. Ensuring you have all the pieces available, and knowing how to mount your mtb headlight properly is an important step in preparing for your mountain bike for your first ride on the trails at night (it’s an entirely new experience).
Next, the instructions will most likely indicate how to charge your mtb headlight’s battery. Once everything is set up you’ll be able to turn the headlight on let the battery drain fully the first time. It’s the best way to get the longest life out of your battery.
The last thing I’ll mention here is that the mounting should be in one of three secure places. Different benefits are depending on the mountain bike headlight you choose. Mounting your mtb headlight just happens to be the next topic. I’ll go into more detail about each position in the next section.
Since you’ll be riding near dusk and even into the night, you’ll have the trail virtually to yourself. You won’t have to worry about how fast you’re going, or other riders. You’ll also have the opportunity to experiment and become a better rider. Night riding can be done by beginners and experts. If you’re a beginner, night riding will be the opportunity for you to experience old trails with a whole new adrenaline rush, and the right equipment.
Part 4: Where’s the Best Place to Mount an Mtb Headlight
There are three places you could position your mountain bike headlight. You could position it on your dual-bar, or handlebar. You could also place the light on the head tube just above the front forks. This would depend a lot on how your mountain bike frame is designed. The last place would be mounting a light on your helmet. Doing that would allow you to see wherever your head turns. I wouldn’t recommend having a solo light on your helmet and no other lighting. I’ll get into that soon.
Wherever you decide to place your mountain bike headlight it should be secure. You don’t want it to be loose at all. You’re going to have different bumps, turns, even crashes as you head down one trail or another, which could dislodge your mountain bike headlight.
Several Important Details to Think About When Positioning an Mtb Headlight
- Any headlight you choose should act as a floodlight positioned at the front of your bike.
- A cone-shaped beam or floodlight should be placed on your handlebars or headtube.
- Some lights will allow you to toggle between lighting modes.
- Mt bike headlights will either combine the light and battery or not. If the battery is separate, you’ll have to mount the battery too.
- If the battery is separate, you’ll need to think about placing a wire, and where to mount a battery.
I want to mention this first because it’s important. Positioning your mountain bike headlight on your helmet is probably not the best idea because your light will be moving wherever you look. Floodlights are generally the brightest right in front of you. So, if you turn your head to look in one direction or the other you may temporarily lose sight of the trail. One mtb headlight increases the chance you could get hurt. It’s best to have a mountain bike helmet light as well as a headlight on your handlebars or headtube.
Placing an mtb headlight on your headtube just above the forks will place your floodlight closest to the ground. This means you’ll have the highest visibility you can get at night. You’re going to see more of the road and whatever is on the side of the trail. But it may be more difficult for you to reach. You may have to stop while riding if you want to switch mode.
Placing your mountain bike headlight on your handlebars will be best if you sit higher as a taller person (or if you don’t mind it placed right in front of you). Position your mountain bike headlight here and combine it with a helmet lamp for the best visibility.
Three Styles of Mount for Headlights
Mounting styles also matter. Each mounting trap has its benefit as seen below.
- Velcro – may get dirty over time, through the dusty summer months.
- Snap/twist on – the most secure style and easy to position but may not.
- Rubber strap – easy to clean and position, not affected by the weather.
Part 5: How Much Mtb Headlight Battery Do I Need per Trip
The range of batteries for mountain bike headlights varies based on capacity, length of use, and manufacturing choices.
Most mtb headlights are designed with lithium-ion batteries. The advantages of choosing a rechargeable lithium-ion battery are obvious. You could think about a less expensive AA or AAA battery-powered light, but why would you? With a lithium-ion battery, you won’t have to constantly purchase batteries, or recharge old ones. Any headlight for mountain biking should have the capacity to run for at least 3 to 5 hours in the brightest setting.
Batteries can last anywhere from 3 hours in the highest brightness mode and up to 12 hours in the low brightness mode. There are different modes depending on the manufacturing and design choices. Some mt bike headlights have low, medium, and high settings allowing you to adapt lighting brightness to your needs on the trail. Use low levels at dusk and make your lights brighter as it gets darker.
Battery size matters. It matters because you want an optimal charging time, battery life, and weight. A fast charging time will cover your butt. In case you forget, you can charge it on the way to the mountain. Batteries for mountain bike headlights can take anywhere from 1 to 5 hours to charge. Sizes range from 260mAh (up to 3 hours on full brightness) to 4400mAh(up to 15 hours on full brightness). Of course, the bigger the battery, the more it will weigh down your bike and make steering less agile.
Whenever you ride, especially if you’re going to ride through the winter season, make sure your battery is fully charged each and every time you hit the mountain.
Part 6: What Lighting Mode Should I Choose While Riding
Many mountain bike headlights are designed with multiple light modes so you can adapt to the lighting situation while you’re riding. With an mtb headlight that’s equipped with multi-function lighting modes (high, medium, low, flashing plus warning light, burst flashing plus warning light) you can use it in a variety of situations, or for safety/survival purposes (if necessary).
When it’s approaching dusk, use low and medium lighting. Just because it’s still a little bit light outside isn’t an excuse to pay less attention to obstacles on the trail. You may think there’s still enough natural light, but that’s not actually the case. Your eyes can easily fool you, and since your battery can most likely sit on full brightness for a few hours, why not turn it on? It can get dark pretty quick, so don’t wait to put your mtb headlight on full brightness trying to save battery. Some batteries will even have lights or a screen to monitor battery levels. If you want to max out your time on the mountain in the winter check your battery levels frequently.
Lighting modes will vary in capacity and length, so you can choose to continuously ride for 4 hours in high-brightness mode, 8 hours in mid-range mode, or 12 hours in low-brightness mode.
Part 7: What Lighting Do I Use While Mountain Biking with Friends
Night riding is a total adrenaline rush. Don’t go it alone. It’s a lot safer with friends and the right mountain bike headlight, and helmet lamp combination. If you’re just getting used to riding at night on your mountain bike, add front and rear blinking red lights. These will give your friends a better idea of the distance you are ahead of them and which direction you’re facing rather than just seeing your floodlights everywhere.
Trails you rode before will be entirely new when riding at night. Everything will feel faster. Trees will fly by you, and the ground will be like right there! You and your friends will own the mountain because not many people are as brave as you are (or maybe they’re just going home for supper?). Let’s say brave.
Five quick tips for riding at night with friends using an mtb headlight:
- Don’t want to ride too close to the person in front of you. If you’re too close, you will effectively cast a shadow ahead of the rider in front of you.
- Remember, the likelihood of crashing is much higher while riding at night.
- If you stop to chat mid-trail turn off your mountain bike headlight. You don’t want to shine the light directly into their eyes.
- Check in with each other frequently to see how each other’s batteries are doing.
- Before you leave for the mountain, make sure you tell someone where you are going. Charge everything to ensure you have the brightest mtb headlight possible.
Part 8: Conclusion
Positioning your mountain bike headlight on your handlebars, or headtube will give you the best possible lighting in combination with a mountain bike helmet light. This combination will provide the best visibility on any trail. You’ll have a consistent floodlight in front of you and light on your helmet to shine a high-definition view wherever your head turns. Lighting modes matter. Change lighting modes as the natural light darkens around you. Don’t be shy when it comes to lighting. You can monitor your battery levels as you go, and make sure to check in with friends to see how their batteries are doing too.
Cool Mountain Bikes has options for you to choose the lighting setup you need to max out visibility and adrenaline.

